Database > Connect Database
Connect a SQL database or data warehouse to Draxlr, with credentials or an SSH tunnel, then pick schemas and let Draxlr sync the schema.
Connect a database to start exploring it in Draxlr. You can connect as many databases as your plan allows.
To connect your first database, follow the steps when you sign up, or open the Add Database page. To add another one later, open the database menu at the top left and choose Connect a Database.
Connect a database
Start connecting
On the Add Database page, click Connect Database.
Not the right person to do it? From the same page you can Invite Team Member to connect it for you, or Schedule Call and we'll guide you through the setup.
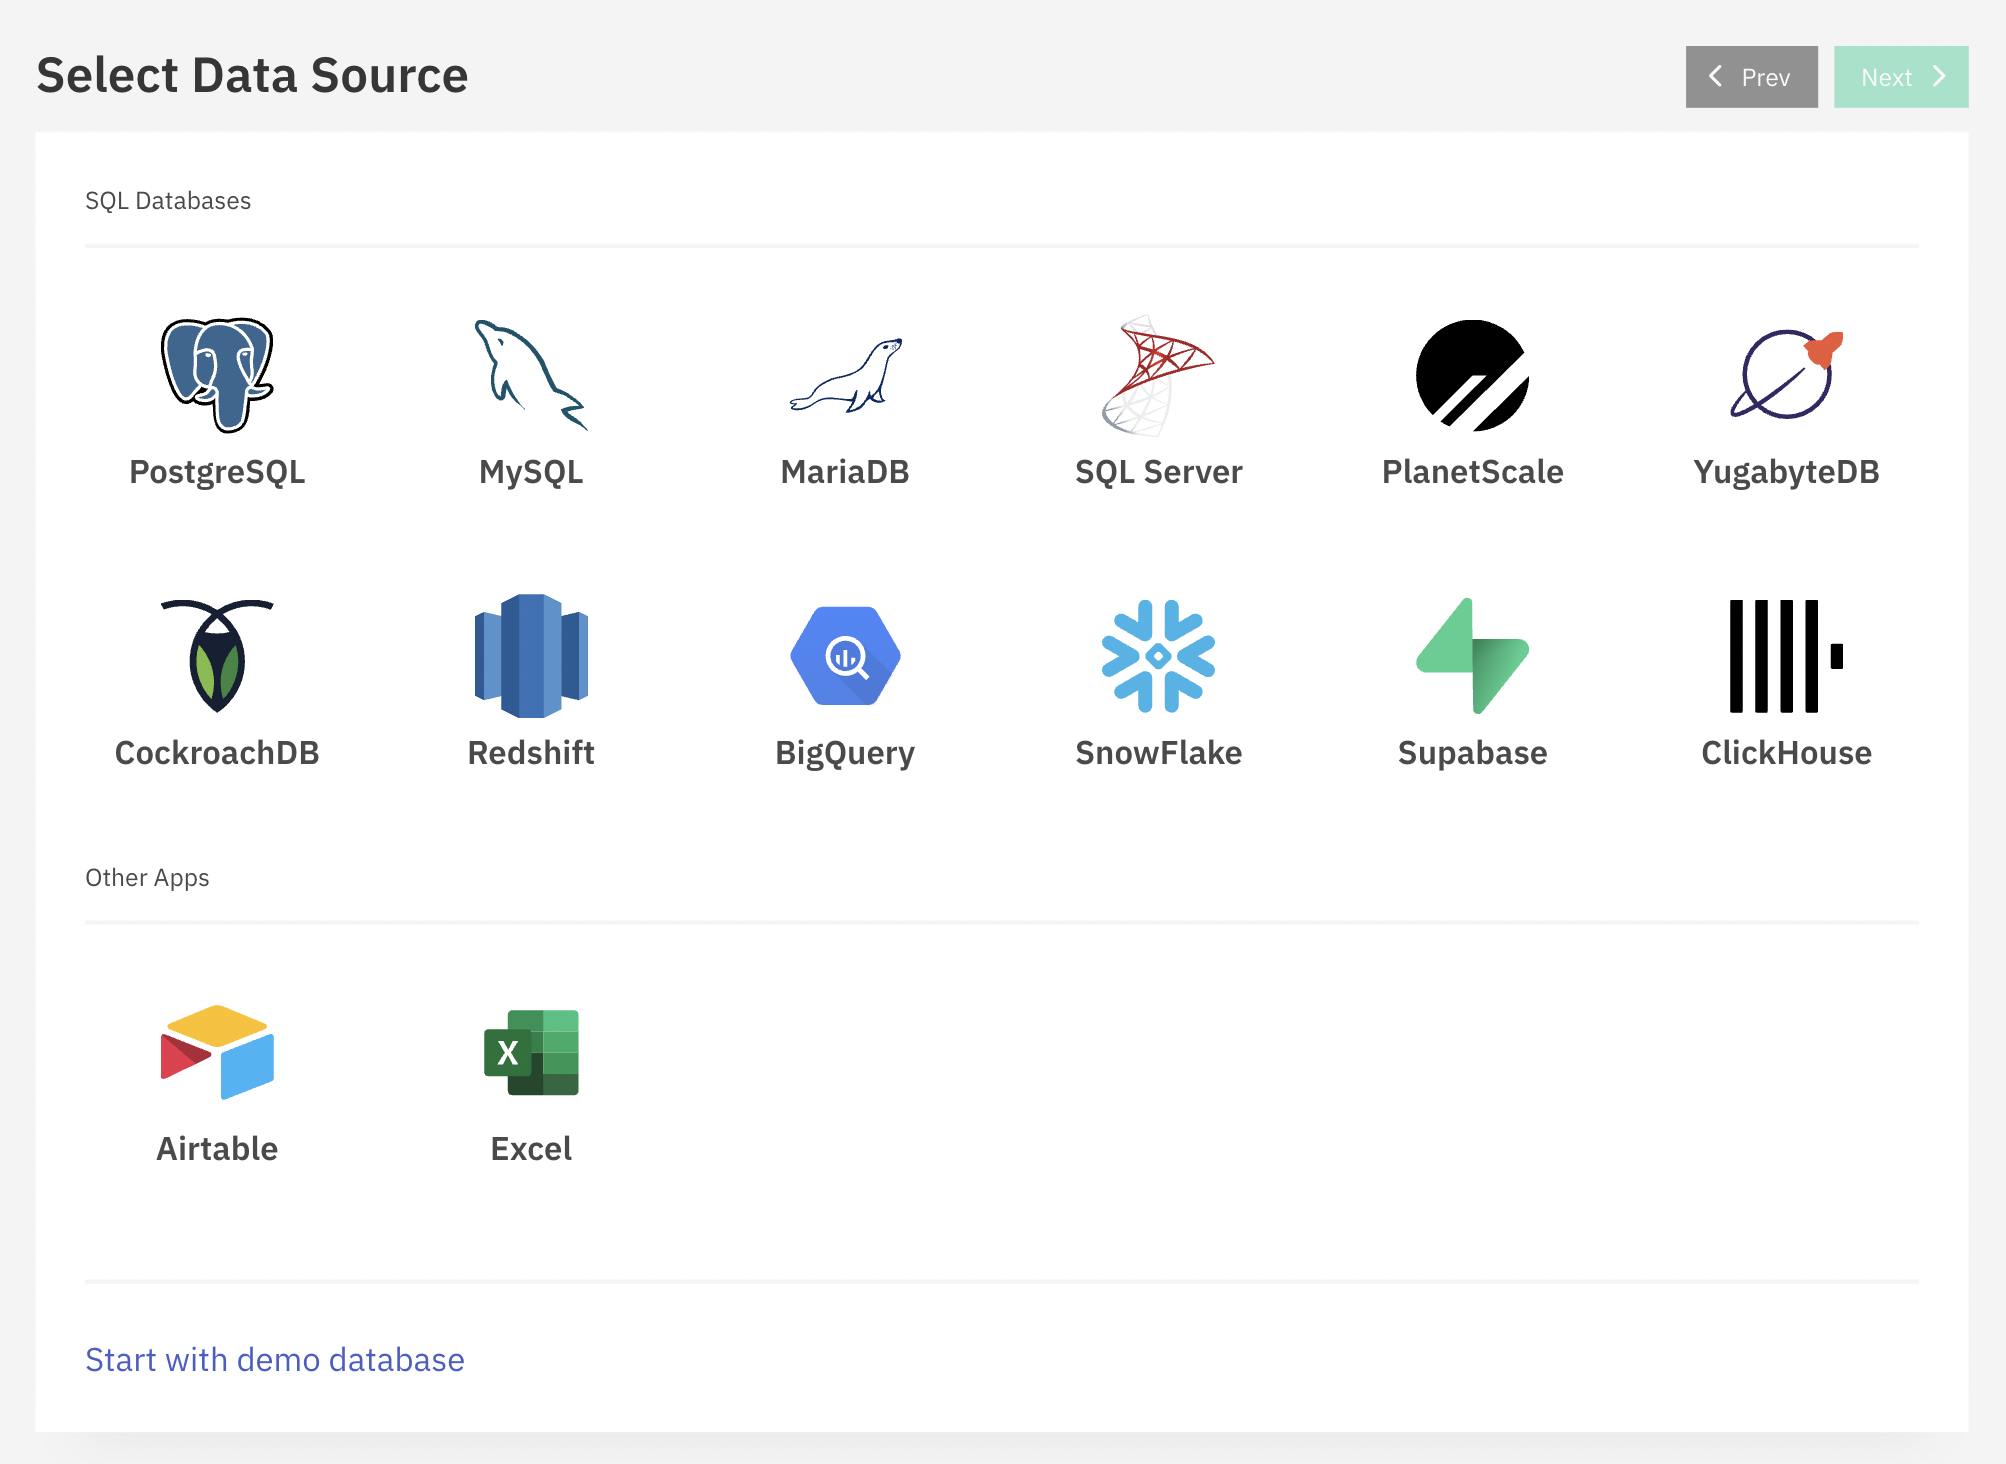
Select your data source
Pick your database from Select Data Source: PostgreSQL, MySQL, MariaDB, SQL Server (MSSQL), PlanetScale, YugabyteDB, CockroachDB, Redshift, BigQuery, Snowflake, Supabase, ClickHouse, Databricks or Neon. Use the search box to find one quickly.
Supabase connects differently: click Connect Supabase, sign in on supabase.com, approve access and pick your project. You don't need to enter credentials.
Don't see your source? Click Suggest a Connector to tell us what you need.
Enter the credentials
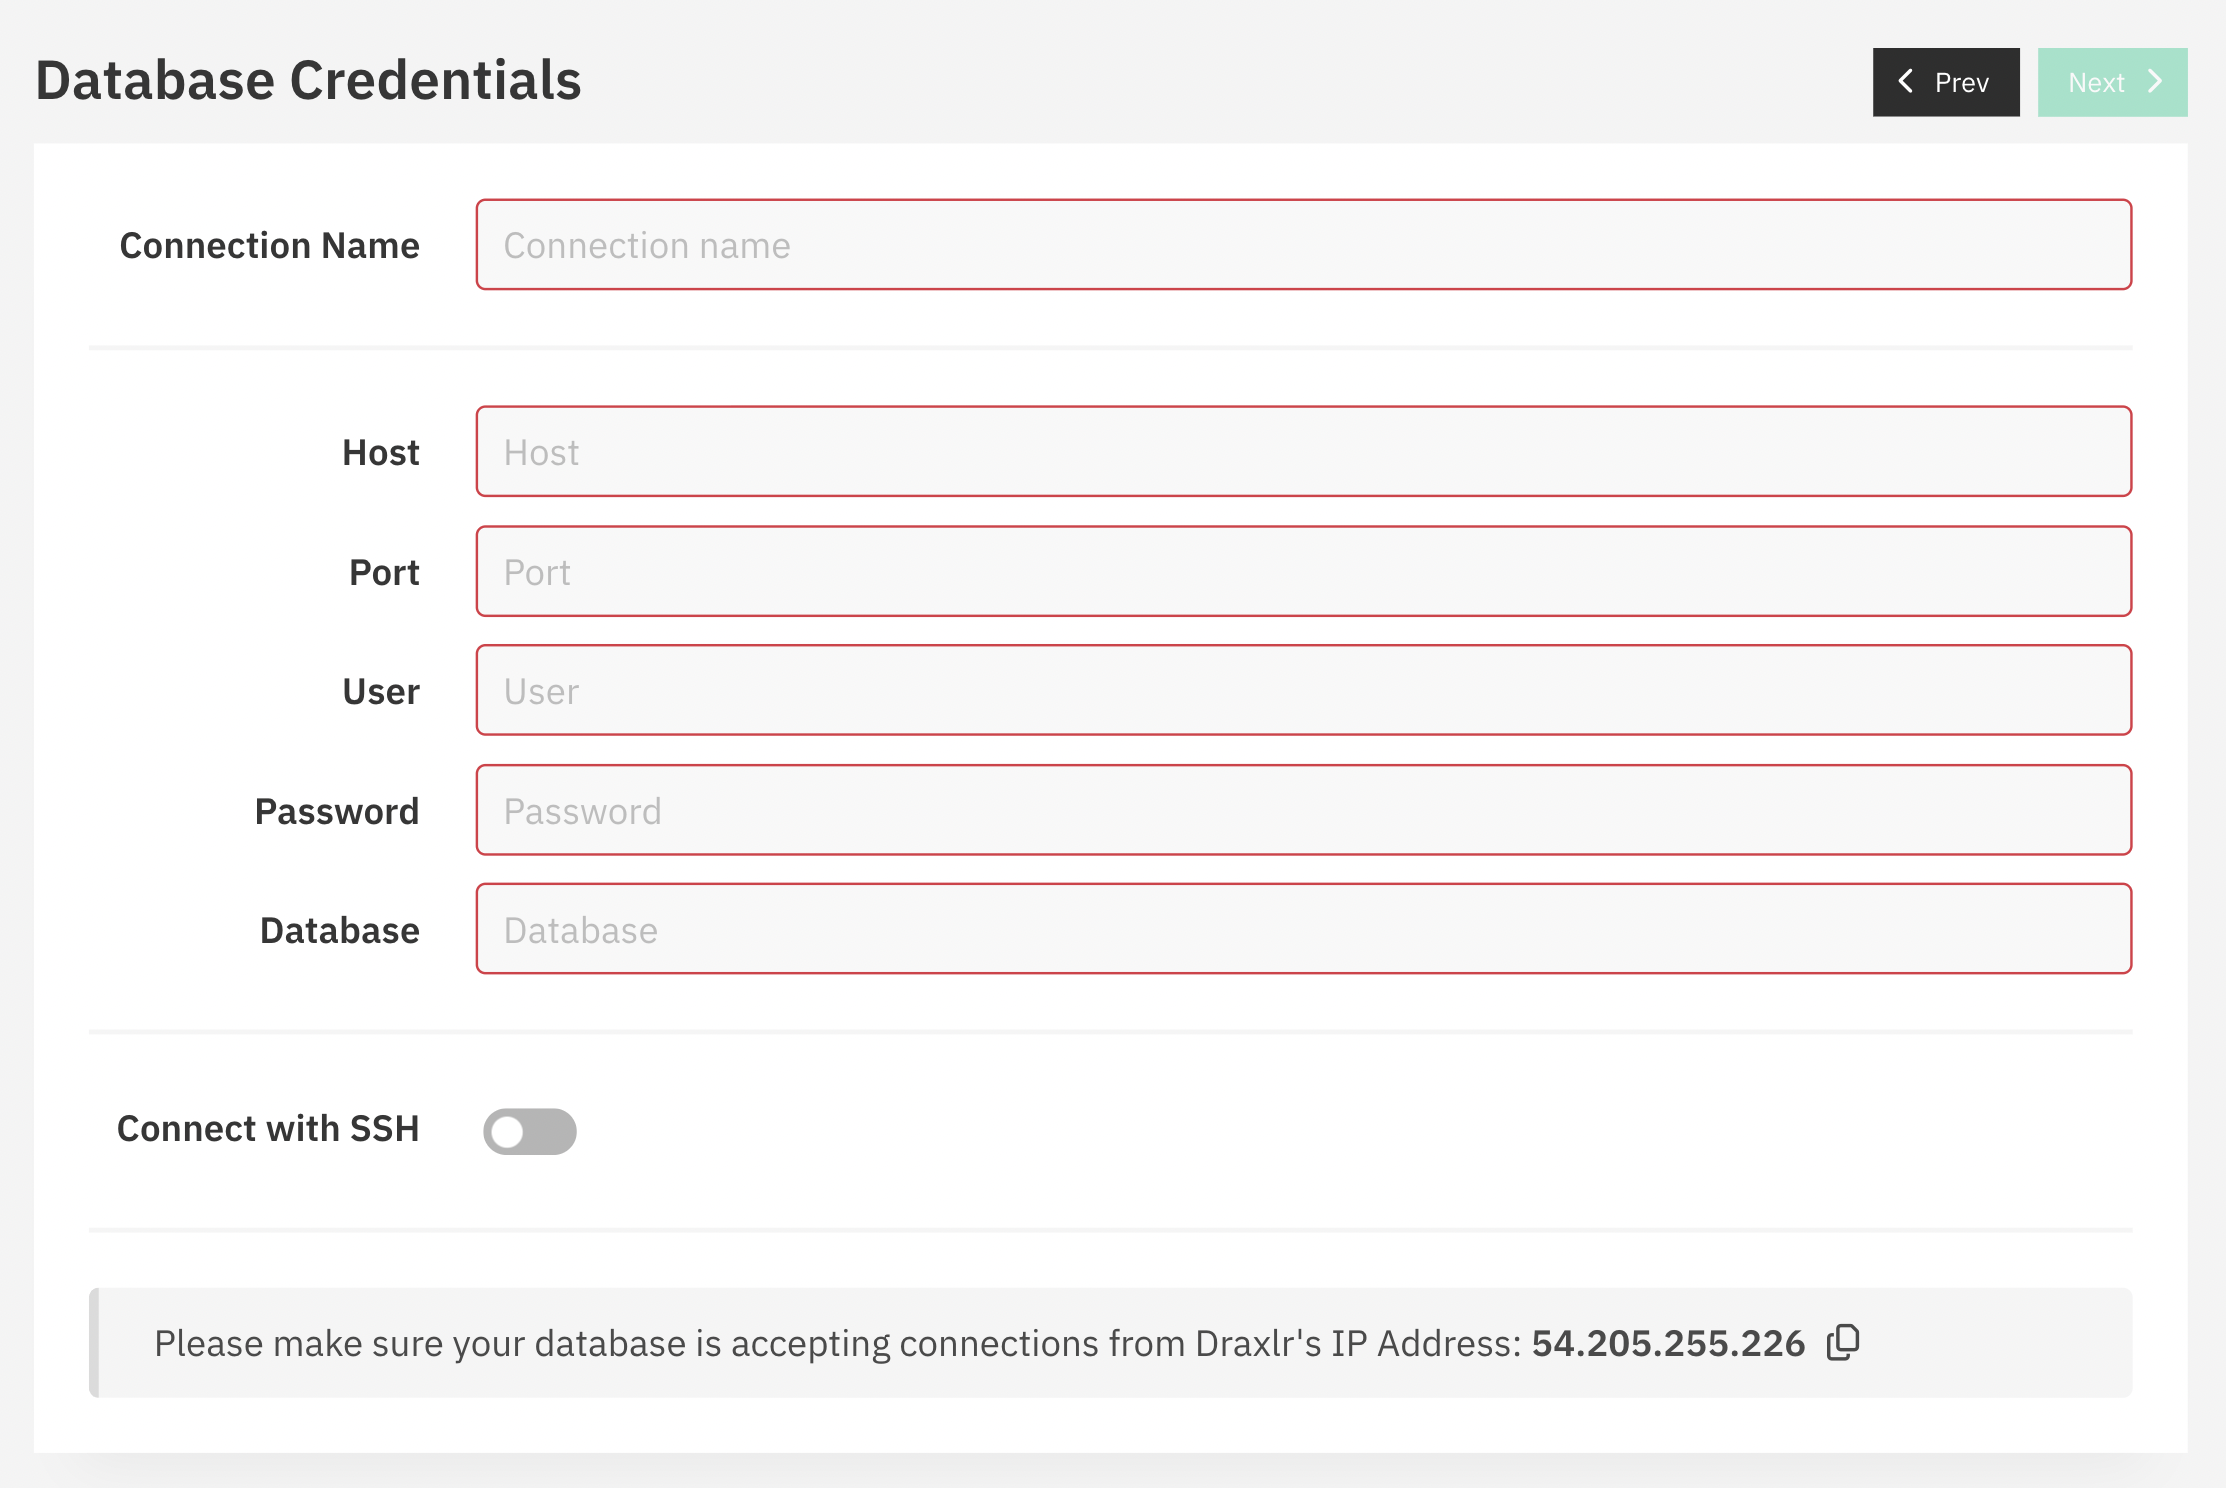
On Database Credentials, enter:
- Connection Name: a name for the database in Draxlr, such as Production
- Host
- Port
- User
- Password
- Database
Some sources ask for other details, such as a JSON key file for BigQuery, a warehouse for Snowflake or an HTTP path for Databricks. See Find Database Credentials for where to find them with each provider.
Use an SSH tunnel if you need one
If your database is only reachable through an SSH tunnel, turn on Connect with SSH. Enter the SSH Host, SSH Port and SSH User, upload the Key File, and add the SSH Key Phrase if the key has one. SSH isn't available for Snowflake or Databricks.
ClickHouse also has a Use TLS option, and CockroachDB an Options field for extra connection settings.
If your database only accepts connections from known addresses, allow Draxlr's IP address: 54.205.255.226.
Test the connection
Click Next. Draxlr tests the connection and shows an error if it can't connect, so you can fix the details and try again.
Select schemas
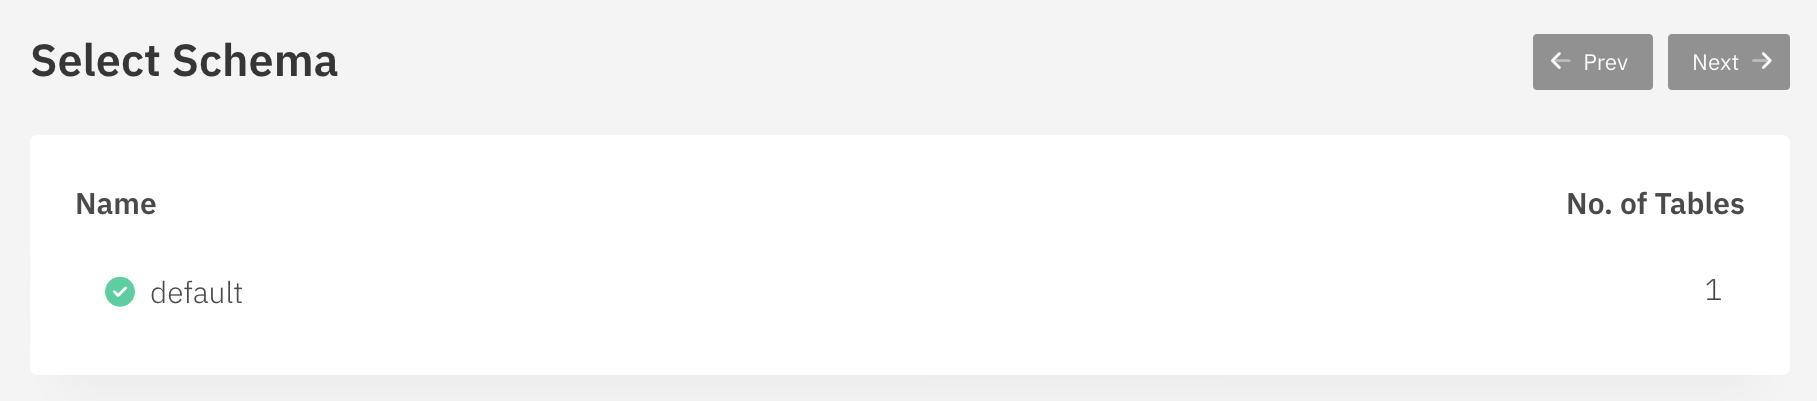
On Select Schemas, choose the schemas you want to use in Draxlr and click Next.
Wait for the schema sync
Draxlr syncs the schema, the tables, columns and their types, and shows how many tables have synced so far. When it finishes, you can generate a dashboard with AI or start exploring.
Things to know
- Your data stays in your database. Draxlr queries it live and stores only the schema and what you save in Draxlr.
- Use a read-only database user. Draxlr only runs read queries, but a user without write permissions keeps your data safe either way.
- Database limit: if your plan's limit is reached, Draxlr says You have reached limit in creating new database. Contact support to upgrade.
- Keeping the schema current: on paid and trial plans, Draxlr re-syncs the schema automatically once a week. To pick up changes right away, sync the database.
Need a connector we don't support yet? Contact support.